


A few people have asked me recently how I "dressed up" my blog and personalized it, so I wanted to give a little bit of instruction on how I did it. Now, I don't know code and do not profess to be even close to an expert, so hopefully this will make sense. :) I'll just tell you what I did. Warning, this is a LONG post and it might be boring. And kinda nerdy. :)
BEFORE ANYTHING go to Layout and then to Edit HTML and download a full template. This way if anything goes wrong or you hate your new design:) you can always revert back to the original.
I first did a search for a 3 column blogger template and followed their instructions. The website I used is www.tips-for-new-bloggers.blogspot.com/2007/02/three-columns-blogger-template.html. *****These instructions dont tell you this but after SAVING a template of your current blog you have to go to Pick new template under Layout and change your template to MINIMA!!! (Now, go to the link above and follow the directions!)
ADDING CUSTOMIZED BACKGROUNDS
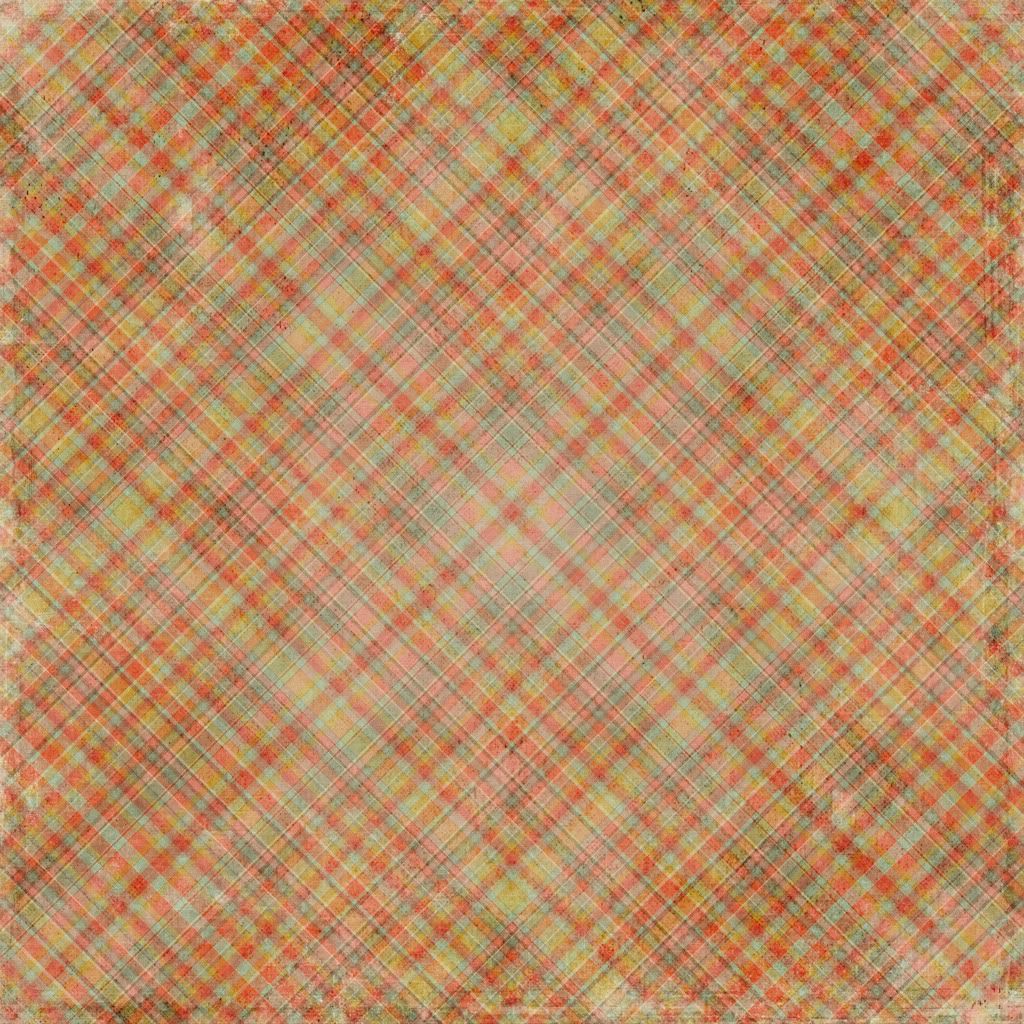
In order to add, say, a digital scrapbooking paper to your blog background, you will first need to set up an account (for free) with a site such as http://www.photobucket.com/ where your paper will be stored and will have its own URL. You upload whatever papers or photos or whatever you want onto Photobucket and then you'll plug in the URL at specific places in the template, which we'll talk about in a minute. So I uploaded a paper and this is part of the URL for it, for example: http://i212.photobucket.com/albums/cc119/kmacma01/SP_Carousel_Paper_Plaid.jpg
Now onto the blogger template tweaking.
Be sure to check the box that says "Expand Widget Templates."
If you scroll down the template code you will see a lot of mumbojumbo with pockets of words that you may recognize. :) For my particular template, I scrolled down until I found this:
(under all of the "variables" list)
*/body { background:$bgcolor;
color:#6f3c1b;
font:x-small Georgia Serif;
font-size:small;
font-size: small;
text-align: center;
}
Now, the "BODY" is the main background of the blog. So to add my paper I pasted this into the template HTML, the -red- being the "new" info plugged in. Notice the "http" address is my URL from Photobucket. (I have found that its easier to us the “Direct Link” in photobucket instead of the “HTML” code!!!!!)
body {
background-image: url(http://i212.photobucket.com/albums/cc119/kmacma01/SP_Carousel_Paper_Plaid.jpg);
margin:0;
color:#6f3c1b;
font:x-small Georgia Serif;
text-align: center;
}
This should add the paper to your body. You can hit the "preview" button to see what it looks like before saving.Then you move on to the "main wrapper" which for me is the middle column where my posts are. I have a different paper here. I scrolled down further to find this:
/* Outer-Wrapper-----------------------------------------------
*/#outer-wrapper {
width: 990px;
margin: 0 auto;
padding: 10px 0px;
text-align: left;
font: $bodyfont;
}
#main-wrapper {
width: 462px;
margin-left: 10px;
}
Then I added my new info, the same as with the "body", except I change the URL to be the new paper's URL from Photobucket.
#main-wrapper{
width: 462px;
margin-left: 10px;
background-image:url(http://i212.photobucket.com/albums/cc119/kmacma01/SP_Carousel_Paper_Green.jpg); background-repeat:repeat-x repeat-y;
background-attachment: scroll;
}
Do the same for your sidebar(s).
#sidebar-wrapper, #newsidebar-wrapper{
width: 250px;
background-image:url(http://i212.photobucket.com/albums/cc119/kmacma01/SP_Carousel_Paper_Natural-1.jpg); background-repeat:repeat-x repeat-y;
background-attachment: scroll;
}
You’ll have to play around with the margins a little to fit the different customizations on your page…but if you need help let me know.
So you're basically adding the same code in different parts of the template, just changing the URL for the different papers you want. Kind of like cutting and pasting. When you're happy with what you've done, just hit "Save Template."
ADDING A NEW HEADER
You can also add your own personalized header if you want. I'm not really going to go into HOW to design your header, just how to add it to your blog. If you're into digital scrapbooking, you just make a scrapbook layout, basically. Just make sure you make the header the right size--my template width is 990 pixels, so I made sure my header wasn't bigger than 990 pixels.I made my header in Photoshop CS2 – thanks to Kyle and Stacey I have finally figured it out. I made the current one 985 pixels by 300 pixels and the resolution 72, which is standard for web viewing.
This is where I learned how to add my own header:http://shiveredsky.blogspot.com/2006/09/how-to-make-custom-header-in-blogger.html
They have screenshots and everything.
But here's an added step--BEFORE you go to customize your layout or template in blogger, you need to tweak your HTML a tiny bit:
Go to 'Edit HTML' and look for this line of text:
(between <> brackets)b:widget id='Header1' locked='true' title='Your Title (Header)' type='Header'/
(its near the bottom)and then change 'true' for 'false'. Save the template and go to 'Page Elements', now the button 'Remove Page Element' in Header should appear.Follow the directions and you should have a new pretty header!!
I did have to go into "Edit HTML" again and get rid of some of the margin lines after I added my header, and it was kind of a trial and error type of thing.****If you need more help let me know and I will try to help you! It's a little bit tedious and a bit technical but once you figure it out, it allows you to really customize your blog.
Here are a few other resources that have good tips on customizing blogs, specifically Blogger:http://betabloggerfordummies.blogspot.com/http://testing-blogger-beta.blogspot.com/
Here is a guide for HTML tags and codes, just FYI: http://www.web-source.net/html_codes_chart.htm
Good luck. Let me know if you need any help!


No comments:
Post a Comment